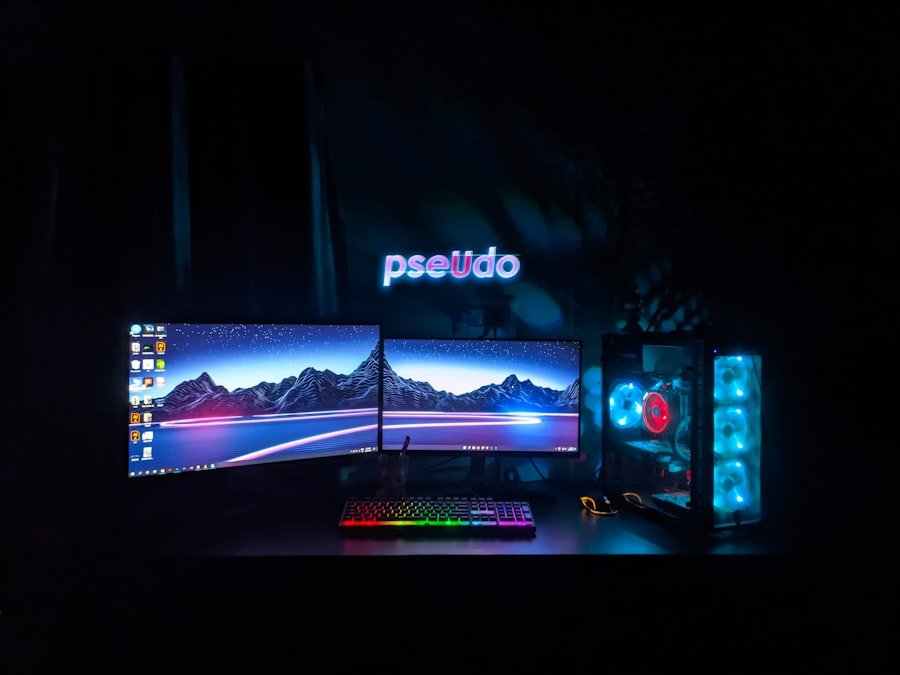
Now Reading: Building a Budget Gaming PC: A Step-by-Step Guide
-
01
Building a Budget Gaming PC: A Step-by-Step Guide

When I first decided to build my own PC, the very first step I took was to set a budget. This was crucial because it helped me determine what components I could afford and what features I could prioritize. I started by considering my needs: was I building this PC for gaming, content creation, or general use?
By identifying my primary purpose, I could allocate my funds more effectively. I also made sure to leave a little wiggle room in my budget for unexpected expenses, as I knew that building a PC often comes with surprises. As I laid out my budget, I realized that it was essential to be realistic about my financial limits.
I researched the average costs of various components and made a list of must-haves versus nice-to-haves. For instance, while a high-end graphics card might be tempting, I knew that I could compromise on other parts, like the case or cooling system, to stay within my budget. This exercise not only helped me manage my finances but also gave me a clearer vision of what my final build would look like.
Key Takeaways
- Setting a budget is the first step in building a PC and helps to determine the quality and performance of the components.
- Choosing the right components involves considering the CPU, GPU, RAM, storage, motherboard, power supply, and cooling system based on the budget and intended use of the PC.
- Researching and comparing prices for each component from different retailers and online stores can help save money and ensure the best value for the budget.
- Assembling the PC requires careful handling of components, following the motherboard manual, and connecting all the necessary cables and peripherals.
- Installing the operating system, such as Windows or Linux, is essential for the PC to function and requires a valid license key and installation media.
Choosing the Right Components
Once I had a budget in place, the next step was choosing the right components for my build. This was both exciting and overwhelming, given the vast array of options available. I started with the central processing unit (CPU), as it serves as the brain of the computer.
After reading reviews and comparing specifications, I settled on a processor that offered a good balance between performance and price. I wanted something that could handle multitasking without breaking the bank. Next, I turned my attention to the graphics card, which is particularly important for gaming and graphic-intensive tasks.
I spent hours poring over benchmarks and user reviews to find a card that would deliver excellent performance without exceeding my budget. Additionally, I considered compatibility with other components, such as the motherboard and power supply. This part of the process was crucial because choosing the wrong components could lead to compatibility issues down the line.
Researching and Comparing Prices
With my component list in hand, I dove into researching and comparing prices across various retailers. This step was vital for ensuring that I got the best deals possible. I utilized price comparison websites and kept an eye on sales events, such as Black Friday or Cyber Monday, which often feature significant discounts on tech products.
By being patient and vigilant, I was able to save a considerable amount of money on my build. I also joined online forums and communities where fellow PC builders shared their experiences and tips on where to find the best prices. This not only provided me with valuable insights but also helped me discover lesser-known retailers that offered competitive pricing.
As I compared prices, I made sure to factor in shipping costs and return policies, as these can significantly impact the overall cost of my build.
Assembling the PC
After gathering all my components, it was finally time to assemble my PThis was both thrilling and nerve-wracking; I had watched countless tutorials and read guides, but nothing could fully prepare me for the hands-on experience. I set up a clean workspace with plenty of room to maneuver and laid out all my components neatly. Following a step-by-step guide, I began by installing the CPU onto the motherboard, carefully aligning it to avoid any damage.
As I continued assembling the PC, I found that patience was key. Each component required careful handling and attention to detail. For instance, when installing the RAM sticks, I made sure they clicked into place securely.
The power supply installation was another critical step; I had to ensure that all cables were connected correctly to avoid any power issues later on. With each piece that fell into place, my excitement grew, and soon enough, I had a fully assembled machine sitting before me.
Installing the Operating System
With my PC assembled, the next step was installing the operating system. This part felt like a rite of passage; it was the moment when my new build would come to life. I opted for Windows 10 due to its user-friendly interface and compatibility with most software applications.
To begin, I created a bootable USB drive using another computer, which would allow me to install the OS onto my new machine. Once I plugged in the USB drive and powered up my PC, I navigated through the BIOS settings to ensure it recognized the drive as the primary boot device. The installation process was straightforward; I followed the prompts on-screen and customized settings according to my preferences.
After what felt like an eternity of waiting for updates and configurations, I finally reached the desktop screen—a moment of triumph that made all my efforts worthwhile.
Optimizing Performance
Now that my operating system was installed, it was time to optimize my PC’s performance. This involved several steps to ensure that everything ran smoothly and efficiently. First, I updated all drivers for my hardware components, particularly for the graphics card and motherboard.
Keeping drivers up-to-date is essential for maximizing performance and ensuring compatibility with new software. Next, I explored various settings within Windows to enhance performance further. For instance, I adjusted power settings to prioritize performance over energy savings, which is particularly beneficial during gaming sessions or resource-intensive tasks.
Testing and Troubleshooting
With everything set up and optimized, it was time for testing and troubleshooting. This phase was crucial for identifying any potential issues before diving into heavy usage. I ran benchmark tests using software designed to stress-test various components of my PC, such as the CPU and GPU.
These tests provided valuable data on how well my system performed under load and helped me identify any bottlenecks. During this testing phase, I encountered a few minor hiccups that required troubleshooting. For instance, one of my RAM sticks wasn’t recognized initially, prompting me to reseat it in its slot carefully.
Additionally, I noticed that temperatures were higher than expected during stress tests; this led me to check my cooling system’s installation and ensure that all fans were functioning correctly. Through careful monitoring and adjustments, I managed to resolve these issues and achieve stable performance.
Upgrading and Maintenance
Building my own PC was just the beginning; maintaining and upgrading it over time is equally important for longevity and performance enhancement. One of the first things I did after getting comfortable with my new setup was to familiarize myself with its upgrade potential. For instance, I researched compatible RAM options in case I wanted to increase memory capacity in the future or looked into faster storage solutions like NVMe SSDs.
Regular maintenance became part of my routine as well. This included cleaning dust from components every few months to prevent overheating and ensuring that all software remained up-to-date for optimal performance. Additionally, keeping an eye on emerging technologies allowed me to stay informed about new components that could enhance my build further down the line.
In conclusion, building a PC is an enriching experience that involves careful planning, research, and hands-on work. From setting a budget to choosing components and optimizing performance, each step contributes to creating a machine tailored to my needs.
As technology continues to evolve, so too will my understanding of how to maintain and upgrade my setup effectively—making this journey one of continuous learning and excitement in the world of computing.
If you’re interested in building a budget gaming PC, you may also want to check out this article on PC vs Console: Which is Better for Gaming?. This article explores the debate between gaming on a PC versus a console and can help you decide which platform is best for your gaming needs. It’s important to consider all aspects of gaming, including hardware and software, when building a budget gaming setup.
FAQs
What is a budget gaming PC?
A budget gaming PC is a computer system designed for gaming that is built using affordable components to keep the overall cost low.
What are the benefits of building a budget gaming PC?
Building a budget gaming PC allows you to customize the components to fit your specific gaming needs while keeping costs low. It also provides a sense of satisfaction and accomplishment from building your own gaming rig.
What are the essential components needed to build a budget gaming PC?
The essential components needed to build a budget gaming PC include a CPU, GPU, motherboard, RAM, storage (SSD or HDD), power supply, and a computer case. Additional components such as cooling systems and peripherals can also be added based on personal preferences.
What are some tips for building a budget gaming PC?
Some tips for building a budget gaming PC include researching and comparing prices for components, considering refurbished or older generation parts, and prioritizing performance over aesthetics. It’s also important to ensure compatibility between components and to consider future upgrade options.
What are some recommended budget gaming PC builds?
Recommended budget gaming PC builds often include components from reputable brands such as AMD, NVIDIA, and Intel. Popular budget builds may include AMD Ryzen CPUs, NVIDIA GTX or RTX GPUs, and budget-friendly motherboards and RAM. It’s important to research and compare different builds to find the best fit for your gaming needs and budget.


Pingback: Defining the Most Iconic Boss Fights in Gaming History
Pingback: Mechanical vs Membrane Keyboards: The Best Choice for Gamers