Now Reading: Boosting FPS: How to Safely Overclock for Better Performance
-
01
Boosting FPS: How to Safely Overclock for Better Performance
Overclocking is a term that often sparks excitement among gamers and tech enthusiasts alike. At its core, overclocking refers to the practice of increasing the clock speed of a computer’s components, such as the CPU or GPU, beyond the manufacturer’s specifications. This process can lead to enhanced performance, particularly in gaming and resource-intensive applications.
By pushing these components to operate at higher speeds, I can achieve a significant boost in frames per second (FPS), which translates to smoother gameplay and a more responsive experience overall. FPS is a critical metric for gamers, as it directly impacts how fluidly a game runs. A higher FPS means that the visuals are rendered more quickly, resulting in less motion blur and a more immersive experience.
When I overclock my hardware, I aim to increase the FPS, allowing me to enjoy games at higher settings without sacrificing performance. However, it’s essential to understand that overclocking comes with its own set of risks and challenges.
Key Takeaways
- Overclocking can improve FPS by increasing the performance of your CPU and GPU.
- Choose hardware with unlocked multipliers and good cooling solutions for overclocking.
- Safely overclock your CPU by gradually increasing the clock speed and monitoring temperatures.
- Safely overclock your GPU by adjusting the core clock and memory clock speeds.
- Monitor and test your overclocked system for stability and performance.
Choosing the Right Hardware for Overclocking
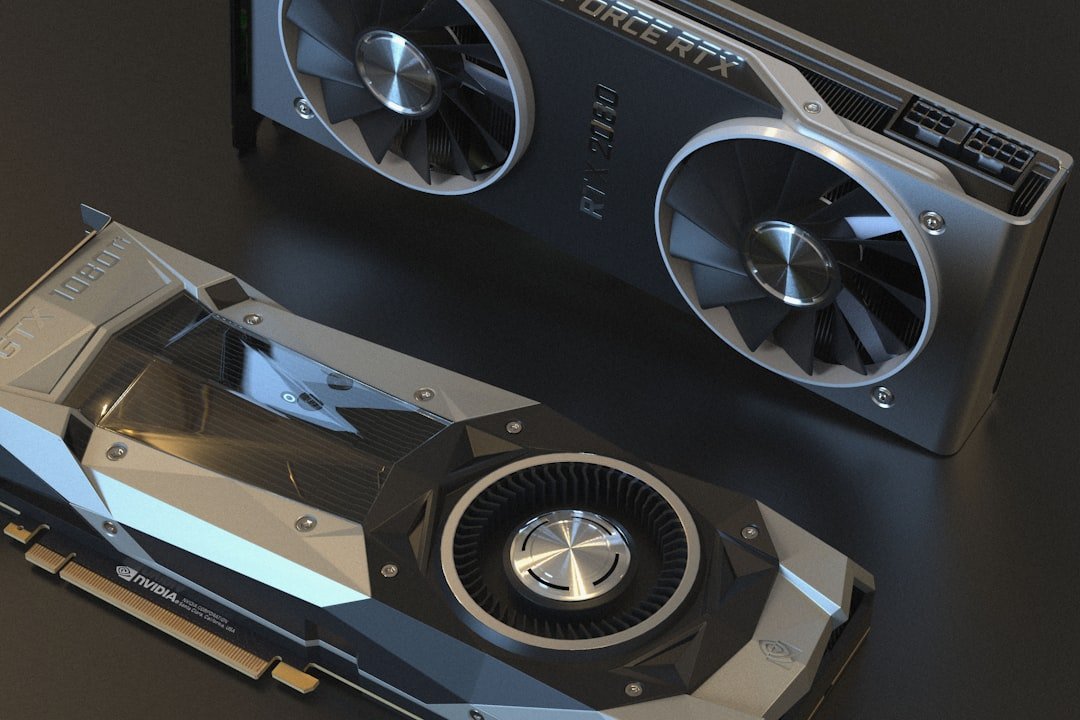
Selecting the appropriate hardware is crucial for successful overclocking. Not all components are created equal; some are designed with overclocking in mind, while others may not handle the increased stress as well. When I embark on an overclocking journey, I start by choosing a CPU and GPU that are known for their overclocking capabilities.
For instance, Intel’s “K” series processors and AMD’s Ryzen series are popular choices among enthusiasts due to their unlocked multipliers, which allow for easier adjustments in clock speeds. In addition to the CPU and GPU, I also pay attention to the motherboard. A high-quality motherboard with robust power delivery systems and advanced cooling features can make a significant difference in my overclocking experience.
Features like VRM (Voltage Regulator Module) quality and thermal management are essential for maintaining stability during overclocking sessions. Furthermore, I ensure that my RAM is compatible with overclocking, as faster memory speeds can also contribute to overall system performance.
Steps to Safely Overclock Your CPU
Once I’ve selected my hardware, I can begin the process of safely overclocking my CPU. The first step involves entering the BIOS or UEFI firmware settings of my motherboard. Here, I can adjust various parameters such as the CPU multiplier and voltage settings.
It’s crucial to make incremental changes rather than drastic adjustments; this approach allows me to monitor the system’s stability and performance more effectively. I typically start by increasing the CPU multiplier by one or two steps and then testing the system’s stability. After making adjustments in the BIOS, I boot into my operating system and run stress tests using software like Prime95 or AIDA64.
These programs push my CPU to its limits, helping me identify any potential issues that may arise from the overclocking process. If my system remains stable during these tests, I can gradually increase the multiplier further while keeping an eye on temperatures and performance metrics. However, if I encounter crashes or instability, I know it’s time to dial back my settings or increase the voltage slightly to maintain stability.
Steps to Safely Overclock Your GPU
Overclocking my GPU follows a similar process but requires different tools and considerations. To begin, I use software like MSI Afterburner or EVGA Precision X1, which provide user-friendly interfaces for adjusting clock speeds and voltages. The first step is to increase the core clock speed gradually while monitoring temperatures and performance in real-time.
I typically start with small increments of around 25-50 MHz to ensure that my GPU remains stable.
This step can lead to further improvements in performance, especially in memory-intensive applications.
After each adjustment, I run benchmarks using tools like Unigine Heaven or 3DMark to assess how my changes impact FPS and overall performance. If I notice any artifacts or instability during these tests, I know it’s time to revert my settings or make more conservative adjustments.
Monitoring and Testing Your Overclocked System
Monitoring is a critical aspect of overclocking that cannot be overlooked. After making adjustments to my CPU or GPU, I rely on various monitoring tools to keep track of temperatures, voltages, and overall system performance. Software like HWMonitor or Core Temp provides real-time data on component temperatures, allowing me to ensure that my system remains within safe operating limits.
If temperatures begin to rise too high, I know it’s time to reconsider my overclocking settings. Testing is equally important in this process. After each adjustment, I run a series of benchmarks and stress tests to evaluate the stability of my overclocked system.
This step helps me identify any potential issues before they become significant problems during gaming or other resource-intensive tasks. By combining monitoring with thorough testing, I can fine-tune my overclocking settings for optimal performance while minimizing risks.
Cooling Solutions for Overclocking
As I push my components beyond their factory settings, managing heat becomes increasingly important. Overclocking generates additional heat, which can lead to thermal throttling or even hardware damage if not adequately addressed. To combat this issue, I explore various cooling solutions tailored for overclocking scenarios.
Air cooling is often sufficient for moderate overclocks; however, for more aggressive settings, liquid cooling systems may be necessary. I consider investing in high-performance air coolers or all-in-one (AIO) liquid coolers that provide efficient heat dissipation. Additionally, ensuring proper airflow within my case is essential; I may add extra case fans or rearrange existing ones to optimize airflow patterns.
By maintaining lower temperatures through effective cooling solutions, I can achieve higher overclocks while ensuring the longevity of my components.
Common Overclocking Mistakes to Avoid
As with any technical endeavor, there are common pitfalls that I must be aware of when overclocking my hardware. One of the most significant mistakes is rushing into aggressive overclocks without proper research or understanding of my components’ limits. It’s essential to take the time to learn about my specific CPU and GPU models, as well as their thermal thresholds and voltage limits.
By doing so, I can avoid pushing them too far too quickly. Another mistake is neglecting stability testing after making adjustments. It’s tempting to assume that a small increase in clock speed will yield better performance without any consequences; however, this can lead to crashes or data corruption during critical tasks.
To mitigate this risk, I always prioritize thorough testing after each change and remain patient throughout the process.
Final Tips for Boosting FPS through Overclocking
To maximize FPS through overclocking effectively, I keep a few final tips in mind. First and foremost, patience is key; gradual adjustments and thorough testing will yield better results than hasty changes. Additionally, staying informed about new developments in overclocking techniques and tools can help me refine my approach over time.
I also consider optimizing other aspects of my system beyond just overclocking. Ensuring that drivers are up-to-date and optimizing game settings can further enhance performance alongside hardware tweaks. By combining these strategies with careful overclocking practices, I can achieve a well-rounded gaming experience that delivers impressive FPS without compromising stability or safety.
In conclusion, overclocking offers an exciting opportunity to enhance gaming performance by boosting FPS through careful adjustments of CPU and GPU speeds. By understanding the fundamentals of overclocking, selecting the right hardware, following safe practices during adjustments, monitoring temperatures diligently, and avoiding common mistakes, I can unlock the full potential of my gaming rig while enjoying a smoother and more immersive experience.
If you’re interested in maximizing your gaming performance, you may also want to check out this article on mastering esports and how to go pro. It provides valuable insights and tips on how to take your gaming skills to the next level and potentially make a career out of it. By combining the knowledge from this article with the techniques for overclocking and boosting FPS safely, you can truly elevate your gaming experience.
FAQs
What is overclocking?
Overclocking is the process of increasing the clock rate of a computer component, such as the CPU or GPU, to make it run at a higher speed than it was originally designed for.
What are the benefits of overclocking?
Overclocking can lead to improved performance and faster processing speeds, which can result in higher frame rates and smoother gameplay in video games.
Is overclocking safe?
When done correctly and within safe limits, overclocking can be safe. However, it can also void warranties and potentially damage components if not done properly.
How can I safely overclock my components?
To safely overclock your components, it’s important to research and understand the specific overclocking capabilities of your hardware, use reliable overclocking software, and monitor temperatures to prevent overheating.
What is FPS and how does overclocking affect it?
FPS stands for frames per second and refers to the number of frames or images displayed on a screen per second. Overclocking can increase FPS by boosting the processing speed of the CPU and GPU, resulting in smoother and more responsive gameplay.
Are there any risks associated with overclocking?
Overclocking can potentially lead to increased power consumption, higher temperatures, and reduced component lifespan if not done carefully. It’s important to weigh the potential benefits against the risks before attempting to overclock.


Pingback: Top 5 Pro Controllers for Competitive FPS Players